Learn how Headlessforms can help you set up and manage a form and its backend in Webflow and discover some best practices to keep in mind.
Forms are one of the most common parts of a website — you can use them for everything from building an email list to generating customer leads. Additionally, many forms are gateways to complex sales and marketing funnels. Let’s look at how to create a form in Webflow and connect to Headlessforms to manage the backend, along with some best practices to keep in mind.
More than 3,500,000 designers use Webflow and Teams to create, collaborate on, and scale beautiful websites in a completely visual canvas — no coding needed. A drag and drop tool for building responsive websites, it also provides an easy-to-use, built-in form builder and manager. Like any other part of Webflow, you can build forms using a drag-and-drop interface and easily access form submissions without dealing with a lot of backend code or customization. However, there are a few caveats to keep in mind to avoid any problems.
Webflow recently stopped supporting form handling for exported sites.
But you can easily handle your forms, receive files, integrate with over 1000 apps, (Slack, Zapier, Google Spreadsheet, Email, Google Docs, and more) by using Headlessforms.
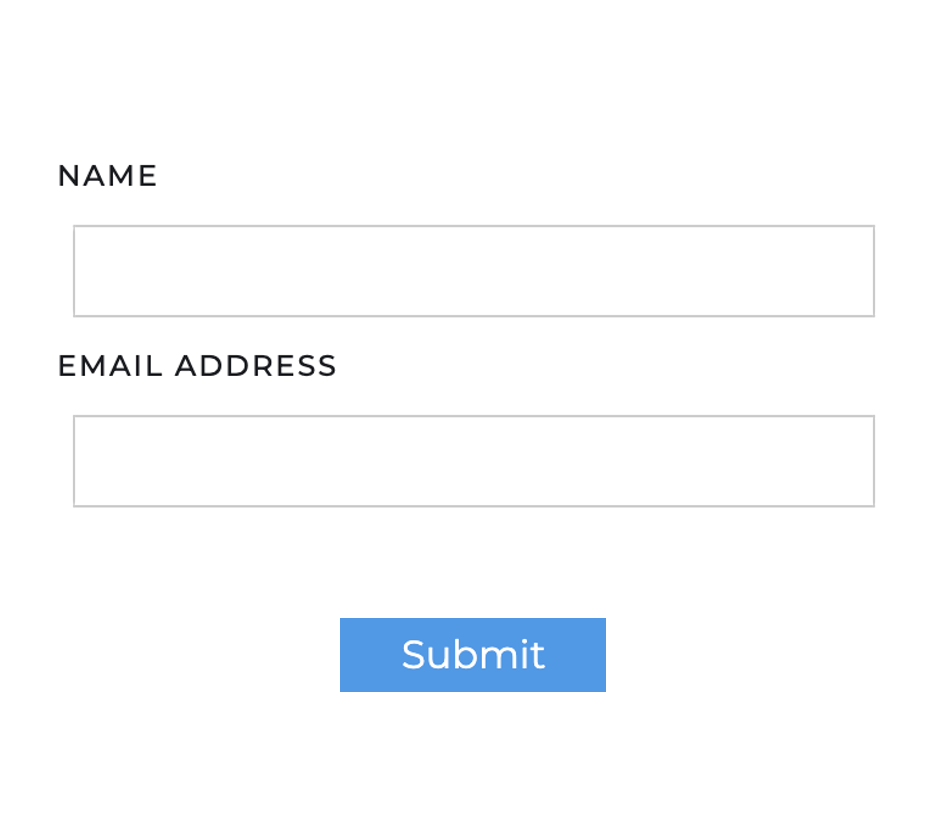
Set up your Webflow form with three straightforward steps:
- Create your first form in Headlessforms and get your form endpoint URL.
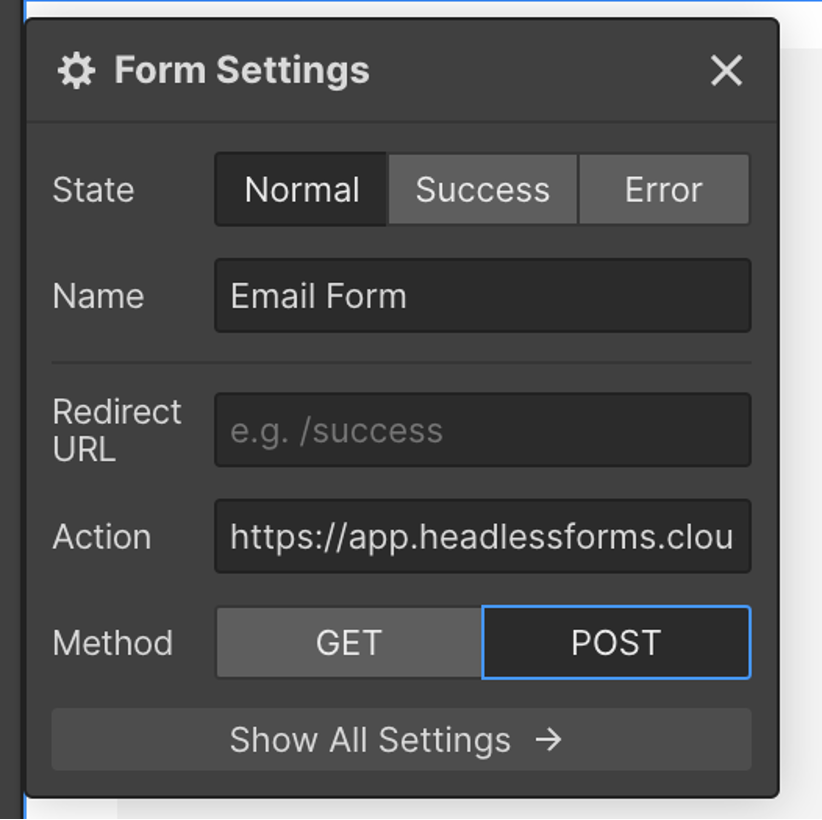
- Choose the form element in Webflow and select its settings. Paste your Headlessforms endpoint into Action input and set your method as POST.
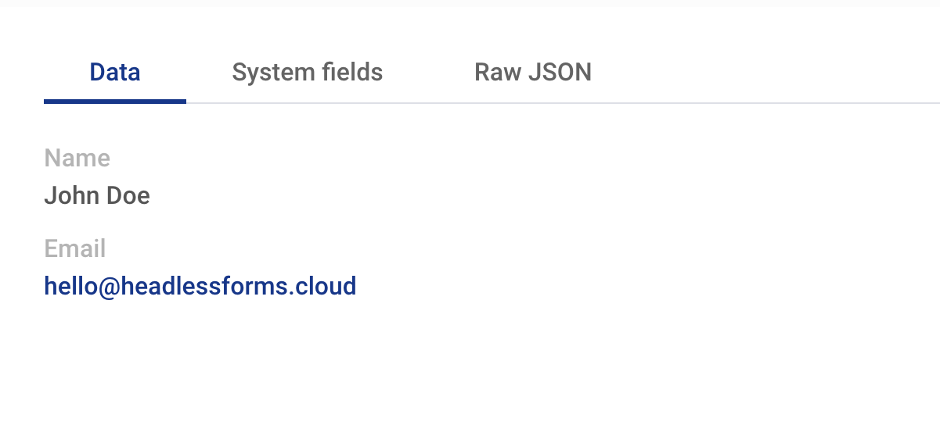
- Publish your website and send your first submission.
That’s all! You can now manage your Webflow site’s form using Headlessforms.
Headlessforms features:
Get in touch with us and share your feedback & feature suggestions.
Headlessforms is the best way to keep your data in sync. Try Headlessforms For Free!