Learn how to connect a form and create a customized file upload form on your Squarespace site using Headlessforms.
If you want to embed forms into your Squarespace site without having users leave your site and having to sign onto a landing page, then you need to use Headlessforms with Squarespace which includes a step-by-step walkthrough.
Squarespace is an award-winning all-in-one website builder and hosting platform. It is a SaaS-based platform that offers users pre-built website templates and drag-and-drop elements to create and modify webpages. Squarespace differentiates itself from other website-builders by combining user-friendliness with stylish and professional designs.
Although the core features of Squarespace may appeal to most website designers, experienced users might want additional customization options. Also, Squarespace forms don’t support file and attachment uploads. This is where you need a third-party service like Headlessforms.
Headlessforms is the backend for all your forms. Just point your form to our endpoint, and your job is done. It is as simple as that. Our Headlessforms are guaranteed to match your website by inheriting your website’s CSS perfectly.
Headlessforms offers a wider variety of customization that align with your website’s design and add-on needs, as well as the ability to create file upload forms for your Squarespace website.
In this blog post, you’ll learn how to use the default templates in Squarespace to build custom forms, including file upload forms, using Headlessforms.
How to Create a Contact Form in Squarespace
Squarespace offers a number of pre-built contact form pages and sections, so you don’t need any coding skills to build your Squarespace website or to use Headlessforms. But you might have more specific needs that require building your own form.
Let’s walk through setting up a simple contact form using the content layout options in Squarespace Blocks. You can find these by creating a blank page or by clicking on the “Contact Form” button on the left-hand side.
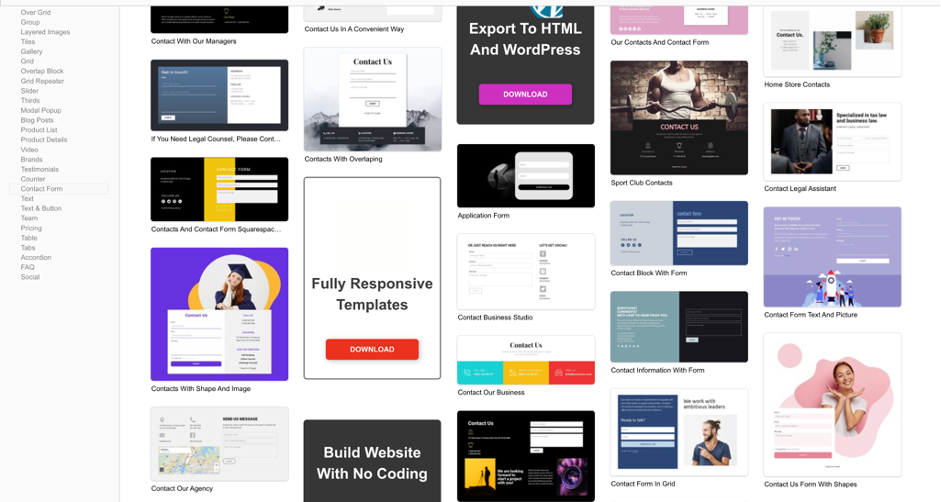
Next, click “Form” from the side menu, and then select the template you need from the pre-built template gallery.
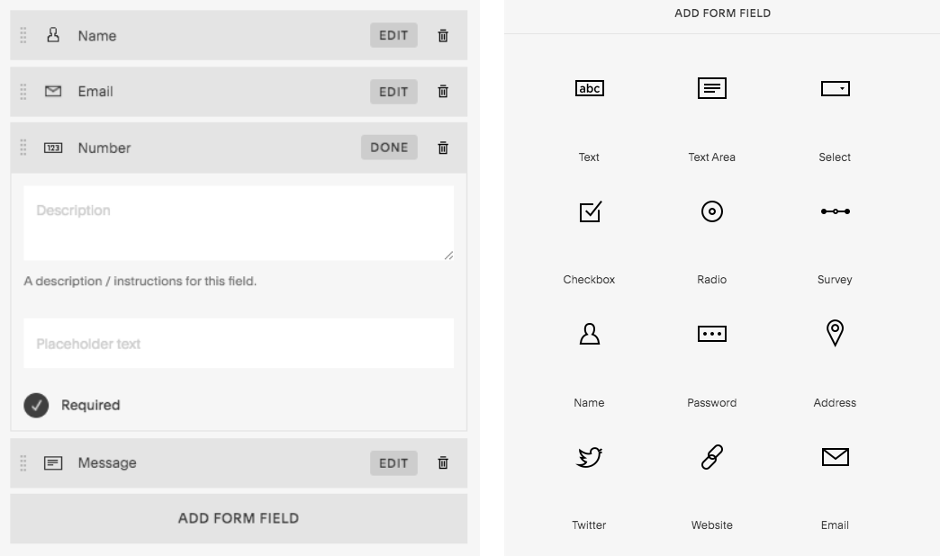
Once you’ve chosen a form template, double-click on the template to start editing it. You have the option to change the form’s name, customize the fields, or add a new field.
Although fields such as text areas, radio, and select buttons can be customized or added, there is no option for file uploads.
The “Advanced” options on this page allow you to edit a submit button’s label and alignment. You can also change what happens after users submit the form by setting a redirect URL.
That’s all you need to do to create a simple functional form on Squares. But, if you are looking for more customization, such as file upload forms where you can enable file attachments on your website, you can make your own form from scratch.
Below, is a sample of a default Squarespace form:

Using Code Blocks & Headlessforms to Create Squarespace File Upload Forms
The default form blocks in Squarespace provide basic form management options. Still, they don’t allow you to do an elevated level of customization, especially if you need to add additional field types and file upload capabilities. If you need to enhance your form’s capabilities, then your option is to use the “Code Blocks” in Squarespace.
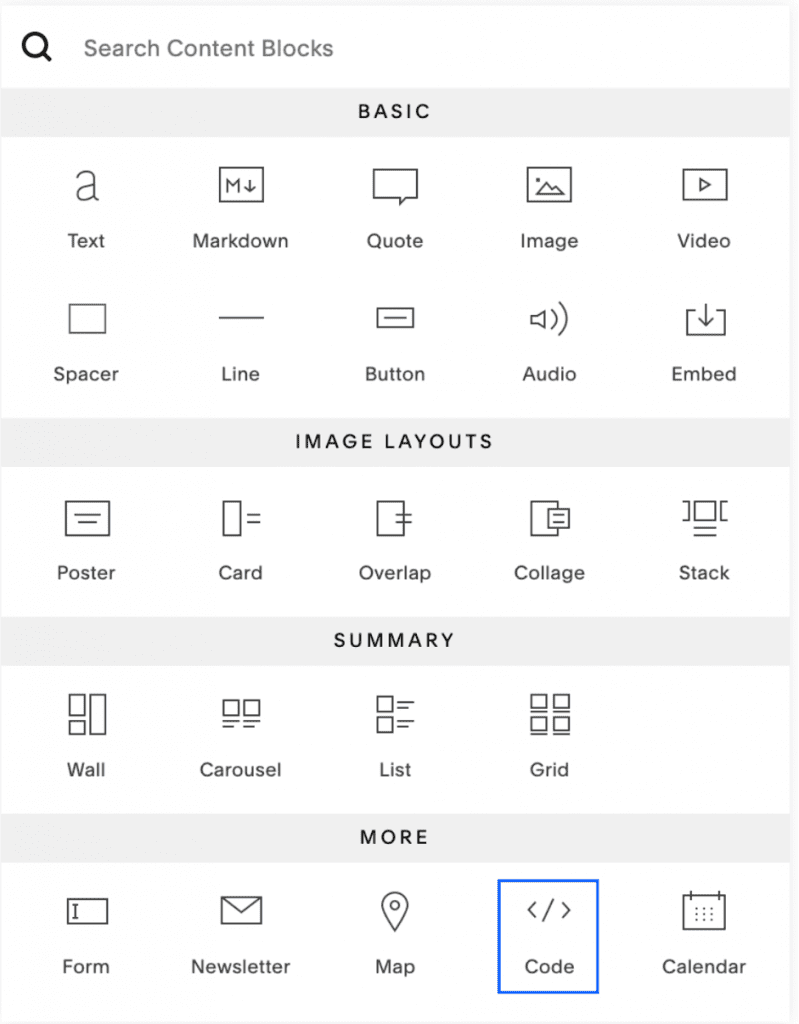
In the Squarespace page editor, click one of the “+” buttons to add a new Content Block. It will look like the image below:

Next, select the “Code” option to add a new Code Block.
Don’t forget to change the action attribute to a form endpoint with your URL. Please read the “Collecting form submissions” section prior to receiving your first submission.
Here are the codes to add a form to a Squarespace website using the Code Block:
<div class="form-container">
   <div class="title">Apply Now!</div>
<form action="https://app.headlessforms.cloud/api/v1/form-submission/{your-unique-form-token-goes-here}" method="POST" enctype="multipart/form-data">
    <div class='form-field'><label class='form-label'>Name</label>
      <div class="form-input-container">
        <input class="form-input" type="text" name="last_name" placeholder="John">
      </div>
    </div>
    <div class='form-field'><label class='form-label'>Email</label>
      <div class="form-input-container">
        <input class="form-input" type="email" name="email" placeholder="[email protected]">
      </div>
    </div>
    <div class='form-field'><label class='form-label'>Upload your document</label>
      <div class="form-input-container">
        <input class="form-input" type="file" name="file" placeholder="Upload your resume" >
      </div>
    </div>
    <button class="form-button" type="submit">SUBMIT</button>
  </form>
</div>

<style>
  .form-container {
    border-radius: 5px;
    background-color: #f2f2f2;
    padding: 20px;
    width: 95%;
  }

  .title {
    font-family: "Celias", "Helvetica Neue", Helvetica, Arial, sans-serif;
    text-align: center;
    text-transform: uppercase;
    font-size: 2em;
    font-weight: bold;
    letter-spacing: .05em;
    padding-bottom: 1em;
  }

  .form-label {
    font-family: "Celias", "Helvetica Neue", Helvetica, Arial, sans-serif;
    font-size: 15px;
    line-height: 1.42857143;
    color: #2c3e50;
    box-sizing: border-box;
    display: inline-block;
    max-width: 100%;
    margin-top: 5px;
    margin-bottom: 5px;
    font-weight: bold;
  }

  .form-input {
    box-sizing: border-box;
    font: inherit;
    font-family: "Celias", "Helvetica Neue", Helvetica, Arial, sans-serif;
    width: 100%;
    height: 45px;
    padding: 10px 15px;
    font-size: 15px;
    color: #2c3e50;
    background-color: #ffffff;
    border: 1px solid #dce4ec;
    border-radius: 4px;
    border-width: 2px;
  }

  .form-button {
    border: none;
    font-size: 16px;
    margin-top: 15px;
    font-weight: 800;
    line-height: 1.5;
    border-radius: 3px;
    padding: 16px;
    background-color: #ccc;
    width: 100%;
    text-align: center;
    cursor: pointer;
    -webkit-transition: all .15s ease;
    transition: all .15s ease;
  }
</style>
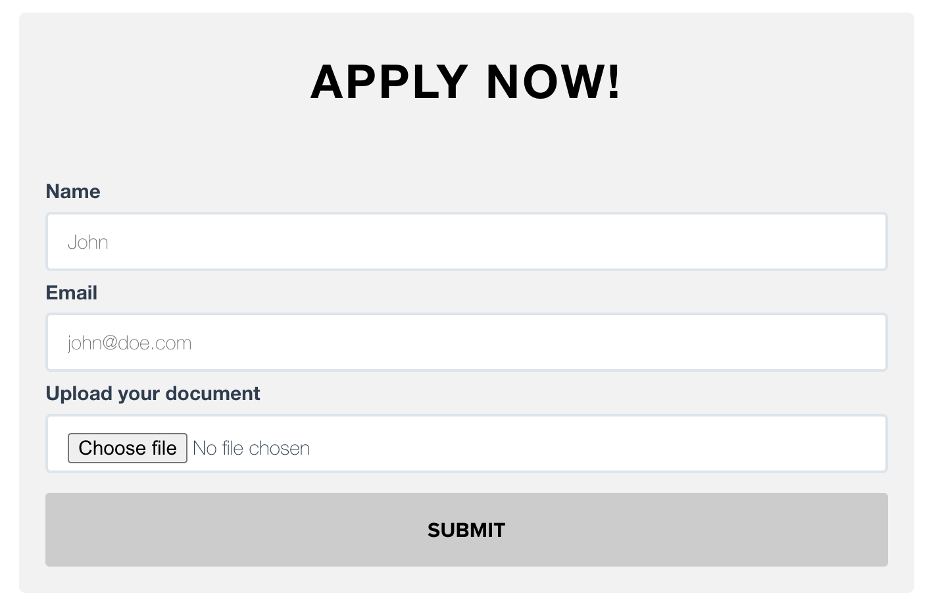
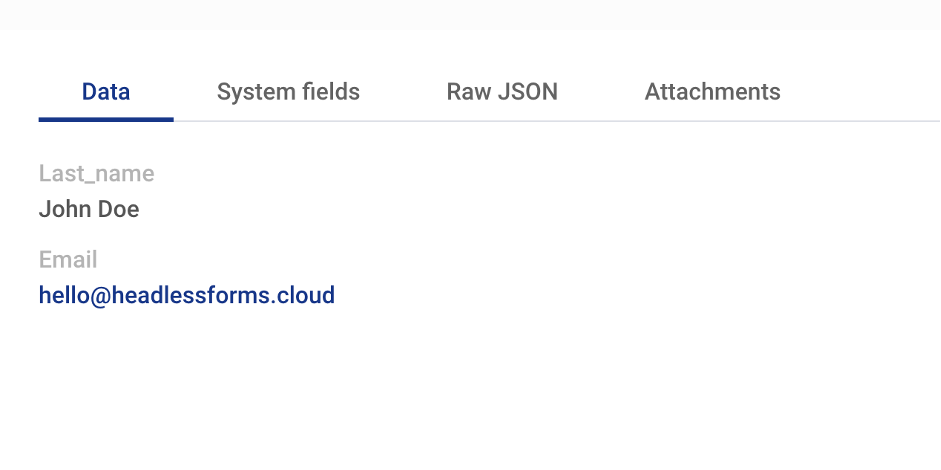
You now have a customized form with a file upload field to accept documents. But you’ll need a way to manage what happens when a user submits information.
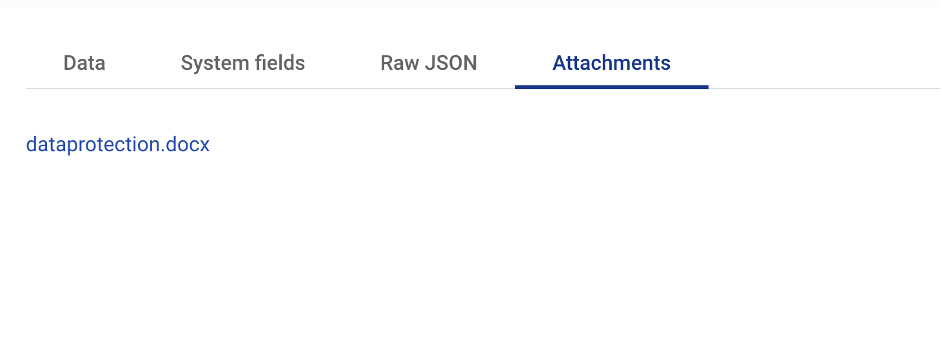
Headlessforms lets you receive email notifications when someone submits to your form, and it also allows you to preview the uploaded files.
Export or download attachments by setting up automatic email notifications that include a link to documents or photos uploaded within a submitted form.
- Headlessforms validates your data server-side and uses machine learning to protect you from spam.
- Connect to Google Sheets, Zapier, Google Drive, Webhook, Slack, and much more.
- Headlessforms Submission API offers advanced options that help you integrate your forms into any custom app or website you are building.
Take Your Squarespace Forms To The Next Level – Start Using Headlessforms Today
Need help? Contact our support team via email at [email protected] or watch our helper video here to get started.
Thank you for reading! You can find more information and resources at Headlessforms Documentation.