Headlessforms Integration – Simple Installation Instructions for NuxtJS Forms
1. Prepare New Form Endpoint on Headlessforms
You simply require a name for your form. Once you specify the name, Headlessforms will provide an exclusive form endpoint to identify your Nuxt form.
2. Preparing Your Nuxt Contact Form
On Headlessforms a standard, boilerplate code is provided to create your HTML form. You’ll find a simple contact form with email address, name and message fields:
<form action="https://app.headlessforms.cloud/api/v1/form-submission/{form-token}" method="POST">
  <input type="email" name="email" placeholder="Your Email">
  <input type="text" name="name" placeholder="Your Name">
  <input type="text" name="message" placeholder="Your Message">
  <button type="submit">Send</button>
</form>
3. Creating a New Nuxt Site
If your Nuxt app is already set up and running, omit step 3 and move ahead to step 4. But if you’re setting up your site from scratch, use these commands to begin setting up your Nuxt app:
$ yarn create nuxt-app <project-name>
$ cd <project-name>
$ yarn dev
Nuxt will now run a hot reloading environment which you can access by default at http://localhost:3000/.
4. Contact Section for Your Nuxt Site
- First, install axios with the following command:
$ yarn add axios- Next, create a new js file. Name it as contact.vue file under pages directory.
- You will next change its content with the following code block:
<template>
  <div>
    <div>
      <form
        accept-charset="UTF-8"
        v-on:submit.prevent="onSubmit()"
        method="POST"
      >
        <div>
          <label>Email address</label>
          <input
            type="email"
            v-model="email"
            class="form-control"
            placeholder="Email"
          >
        </div>
        <div>
          <label>Name</label>
          <input
            type="text"
            v-model="name"
            class="form-control"
            placeholder="Name"
            required="required"
          >
        </div>
        <div>
          <label>Message</label>
          <textarea
            type="text"
            v-model="message"
            class="form-control"
            placeholder="Message"
            required="required"
          ></textarea>
        </div>
        <hr>
        <div class="success" v-if="isSuccess">We received your submission, thank you!</div>
        <button type="submit">Submit</button>
      </form>
    </div>
  </div>
</template>

<script>
import axios from "axios";

export default {
  name: "Contact",
  props: {
    msg: String
  },
  data() {
    return {
      loading: true,
      name: "",
      email: "",
      message: "",
      isSuccess: false
    };
  },
  methods: {
    onSubmit() {
      let data = {
        name: this.name,
        email: this.email,
        message: this.message
      };
      axios
        .post("https://app.headlessforms.cloud/api/v1/form-submission/{form-token}", data, {
          headers: {
            Accept: "application/json"
          }dd
        })
        .then(
          response => {
            this.isSuccess = response.data.success ? true : false;
          },
          response => {
            // Error please  provide error handling code.
          }
        );
    }
  }
};
</script>
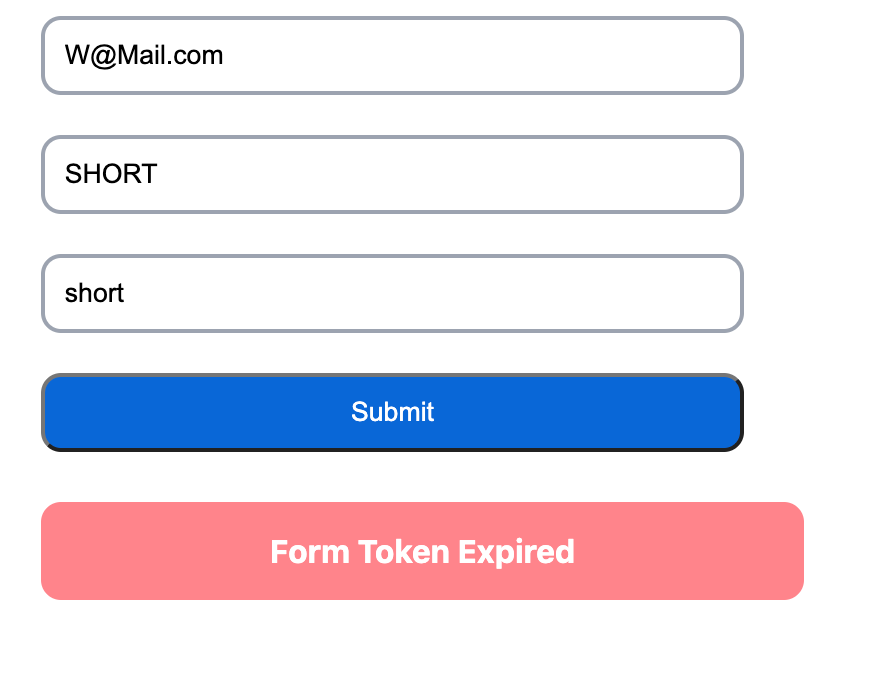
When visitors try to submit a form that doesn’t validate, they’ll see some errors. They look like this by default:
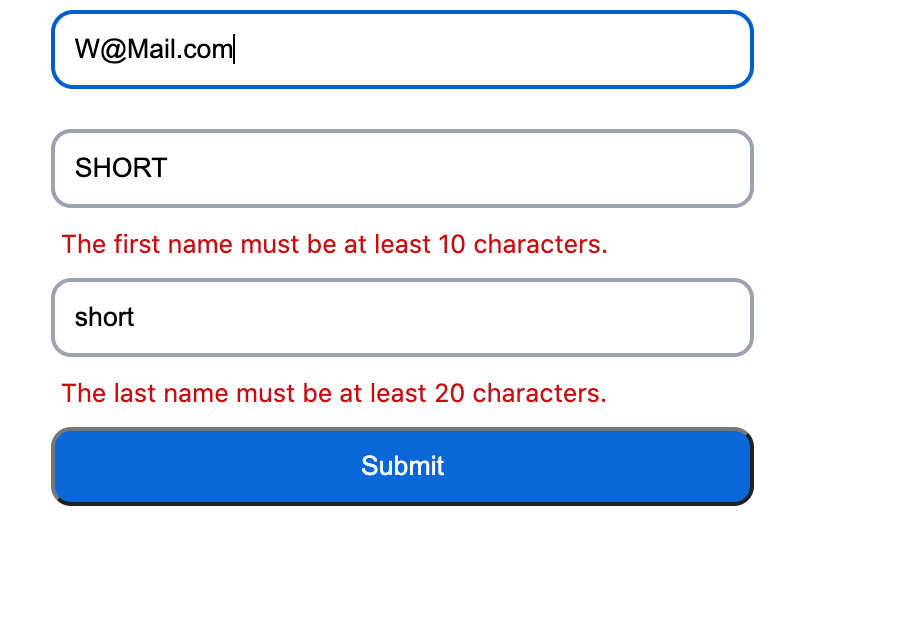
This is the most common error that you may face while using it.
5. Run your Nuxt app locally to finalize setup
Run the following command to see your NuxtJS form in action at localhost:3000/contact/:
$ yarn devIf you’ve carefully followed these steps, your Nuxt app will now be running Headlessforms for form handling.
By following the steps provided, you will have successfully completed Headlessform integration for Contact Forms, Gatsby JS, Next JS and Nuxt JS Forms.
Thank you for reading! You can find more information and resources at Headlessforms Documentation.