We‘ve provided templates to let site authors add the forms required to any page, using a simple drop-down menu on your own tailored theme.
1. Setting Up Your Ghost Site
The first step is installing the Ghost-CLI. This is a command line tool which enables you to install and configure Ghost.
Install the Ghost-CLI –
npm install ghost-cli@latest-g Now install the Ghost; cd into an empty directory in your terminal and run the install command:
ghost install localYou can now access your new site on http://localhost:2368 and http://localhost:2368/ghost for access to Ghost Admin.
The default theme after you’ve installed is called “Alto”. The admin will look like below.
2. Creating Your Custom Page Template
To create a custom post template, the next step is to create a new file at the root of your theme: custom-page-with-headlessforms.hbs – open in your chosen code editor.
This template will be used for the reusable contact form setup.
Within your new custom page template file add the following code:
{{!< page}}
{{#contentFor "form-area"}}
  <!-- form here -->
{{/contentFor}}
The line {{!< page}} will take the original page.hbs template in the theme and insert everything below it into the page template.
3. Defining The Content Block
Now, you need to define a content so you can insert the code in your new custom template in the right place.
- You can define a content block by using:
{{#contentFor “example”}}…{{/contentFor}} helper – as illustrated in the code sample above.
- Open the page.hbs template in your code editor
- Locate the place where you wish the form to appear
- Add the following:
{{{block "form-area"}}}Because the block has been referenced, anything between the {{#contentFor “form-area”}}…{{/contentFor}} block helper will be inserted wherever you have placed the code.
4. Create your Ghost Contact Form for Headlessforms
To send data from your Ghost Form to Headlessforms, you must create a new form endpoint in Headlessforms.
- Log in to your Headlessforms account
- Click “Create new form” button
- Stipulate a name
- Headlessforms will now provide a form token unique to you for identification of your Ghost form.
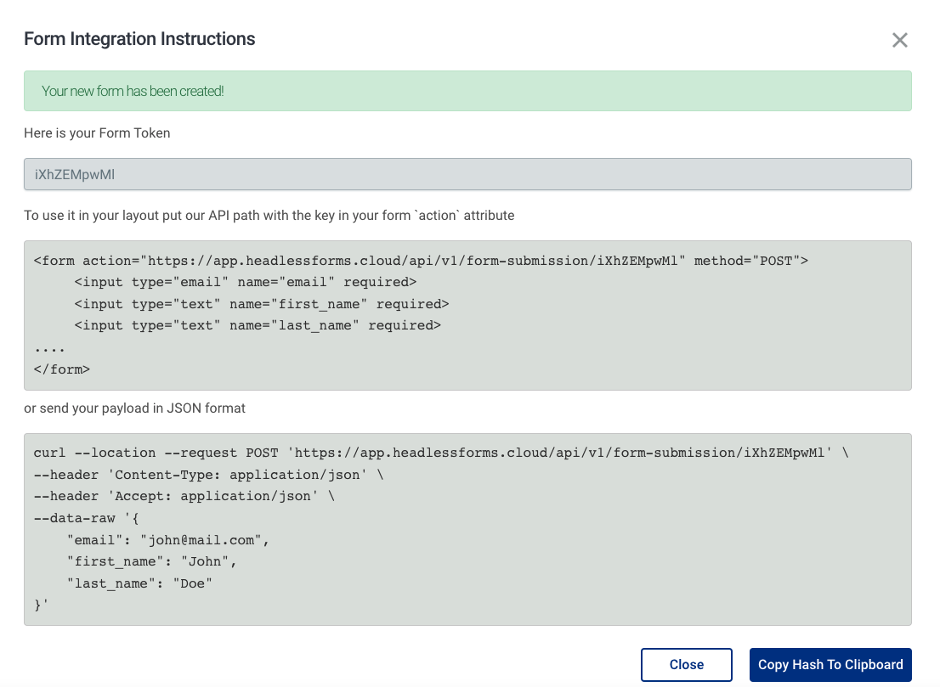
The unique form endpoint created from Headlessforms is placed to the action attribute of the form tag.
If you’ve followed these steps, you have now successfully added a contact form to your Ghost blog.